Saturday, June 27, 2015

Peanut Butter Oatmeal Balls

It's always hard to wake myself up to reset myself for work, but it's especially difficult on a dreary, rainy Saturday when all I want to do is lay in my bed and watch movies or read a book. Since I don't have that option today I decided that I would make a healthy snack/dessert to bring with me to work for the weekend.

I've made a variation of these before with more ingredients but this time I wanted something simple. You can never go wrong with chocolate and peanut butter (unless you have a nut allergy in which case I'm truly sorry for you). Peanut butter oatmeal balls pack enough protein and sweetness to give you energy and carry you through until your next meal. 

You will need:

1 cup oats
1/4 cup flaxseed meal 
1/2 cup creamy peanut butter
1/2 cup honey
1/3 cup dark chocolate chips (or more or less depending on how chocolaty you want them to be)

Simply dump all of the above ingredients in a bowl, mix well, and roll into balls. I was able to get 12 out of this mixture, you may be able to make a few more depending on how large you make them.


Put them on a baking sheet lined with wax paper and place in the fridge until they become more solid. You can also freeze these to eat later. 


Thursday, June 25, 2015

Stars & Stripes

The Fourth of July is one of my favorite holidays. There’s something about everyone coming together to celebrate our heritage and being proud to be an American that’s contagious and inspiring. It’s a holiday with some of the most spirit and I truly look forward to it every year. Unfortunately for the past several years I’ve had to work and this year will be no different. Since I can’t host my own barbeque or travel to any fireworks (so disappointing!) I thought I’d create my own a few weeks early!


No barbeque is complete without a grill for burgers, hotdogs, etc. I decided to make burgers and shrimp skewers, but I have a confession to make: until yesterday I had never started a grill in my life. That’s so bad! To make sure I didn’t burn myself or the house down I lured my friend Keegan down to help me taste test. Turns out she’s never started a grill either! I’m happy to say though with a little over-the-phone coaching from my dad we figured it out. And maybe one or two additional phone calls from him making sure no one was on their way to the hospital.

My burger recipe is really simple, I can’t even call it a recipe. Simply choose your ground beef (I usually pick at least 90% lean) and add in Worcestershire sauce, garlic powder, and salt and pepper. Be sure to add enough seasoning to have a good ratio with the amount of beef you’re using. Near the end of grilling throw on your favorite cheese and watch it melt into the burger. So good!


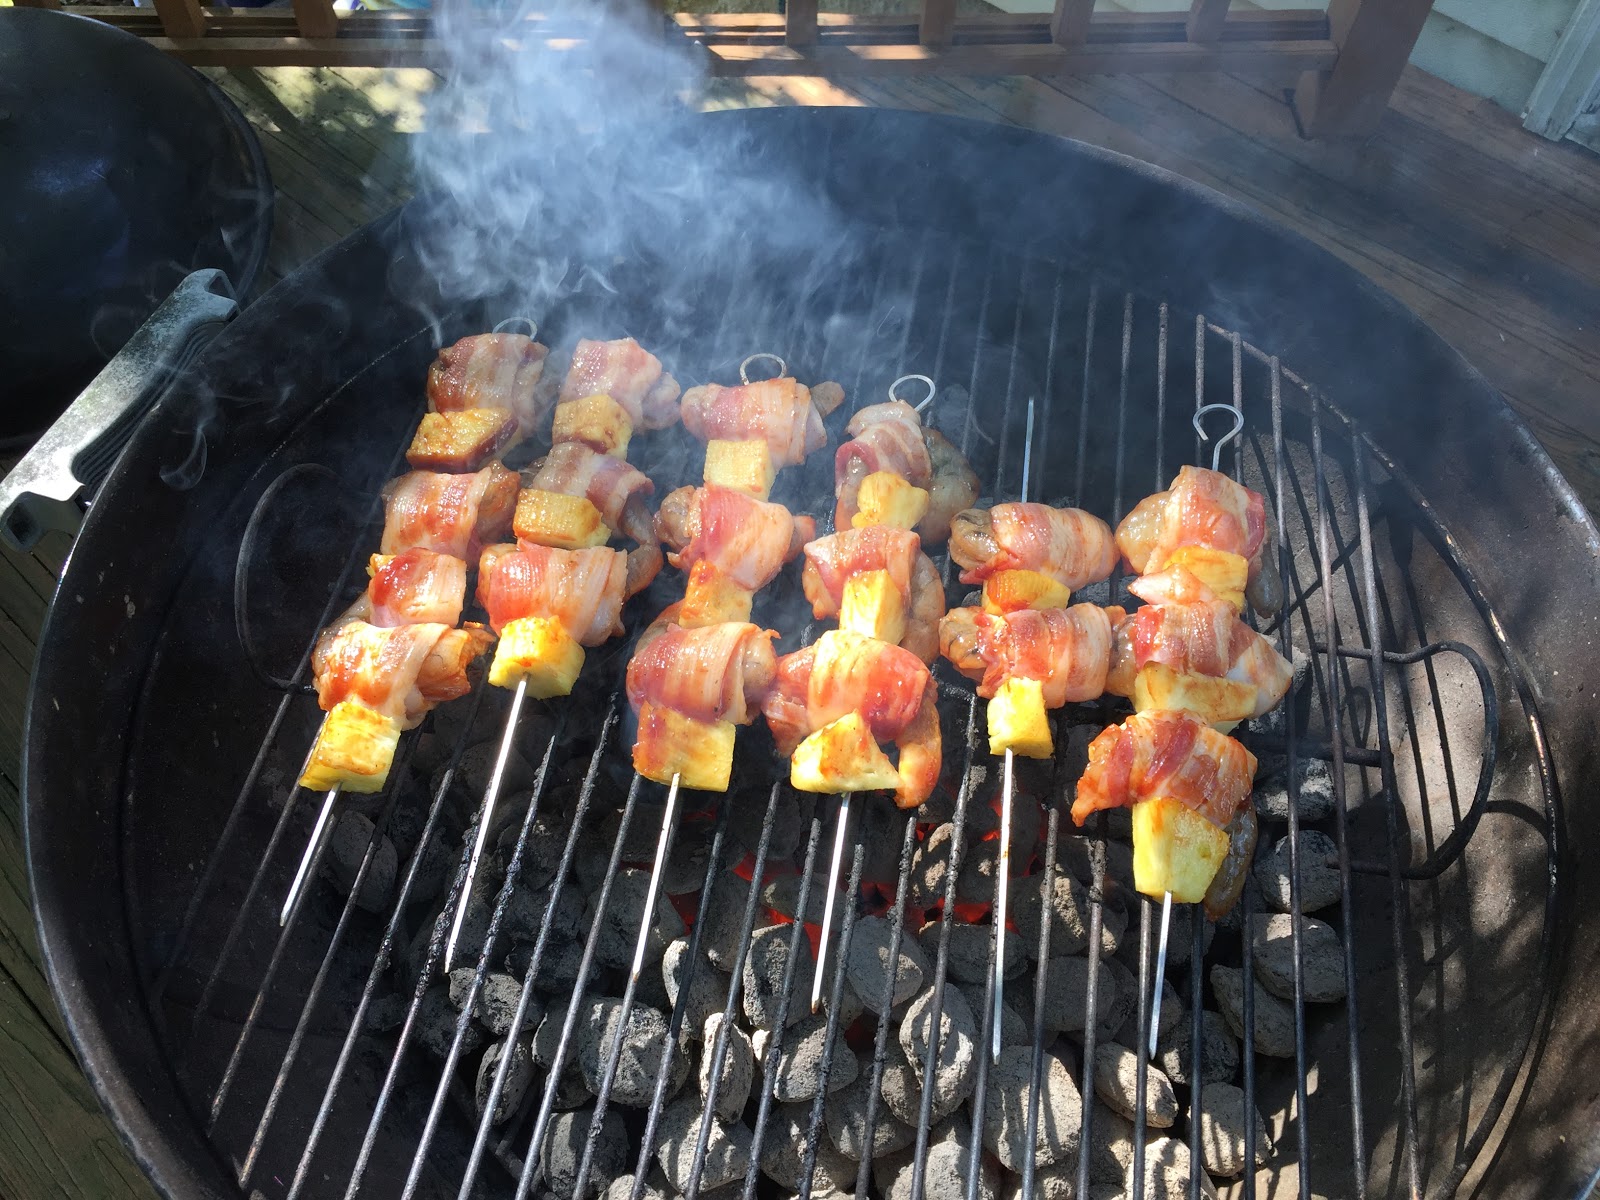
 For the shrimp skewers get at least a pound of large shrimp from your local seafood counter. Peel and devein them, then throw them in a bowl with your favorite BBQ sauce and let them marinate in the refrigerator for at least 45 minutes. We used a bourbon based sauce with a hint of chipotle for a little kick.

While the shrimp are marinating, cut up a fresh pineapple into small squares. Once the shrimp are done marinating wrap them in a piece of bacon and alternate them with the pineapple on a metal or wooden skewer (Target had metal ones in the dollar bin. If you use wooden ones, which can be found at most grocery stores, be sure to soak them in water for at least 30 minutes before use).

Once on the grill baste them with more sauce each time you rotate them for maximum flavor. These didn’t last long!


 We also grilled corn on the cob, basted in butter with a little black pepper.


For a second side I chose a “skinny” broccoli salad. Dice one green bell pepper, one red bell pepper, and ½ of a small red onion. Cut a pint of cherry tomatoes in half lengthwise, then chop 2 broccoli crowns. Throw these all in a large bowl, then add in 1 cup of shredded cheddar cheese. Finally, douse in one cup of ranch dressing. Mix well and let sit in the fridge until chilled.


 For dessert I went with an American classic, courtesy of my mother, Strawberry Shortcake. Grab a box of Bisquick and follow the directions on the back of the box. It’s that easy. We made our own whipped cream, which entails dumping the contents of one container of heavy cream, two tablespoons of sugar, and one teaspoon of vanilla extract into a large bowl, then whip it into submission as Julia Child would say. Once the cakes are done baking layer with the whipped cream and strawberries and serve!


 I wanted one other sweet treat with this meal so I opted to make my own popsicles, something that I’ve never done before. What I didn’t realize was how hard it would be to find popsicle molds. I went everywhere and couldn’t find them! And it’s summer! Fortunately there’s a wonderful thing called Amazon that allows you to obtain such difficult items cheaply and quickly.

To make these American flag popsicles puree one heaping cup of blueberries and one heaping cup of raspberries separately in a blender or food processor. You will also need at least one cup of vanilla Greek yogurt.

Thin each with a little bit of water so that it’s runny enough to pour in the molds. Start by pouring in the blueberries. You want a fairly thick band for this part. Pop in the freezer until solid, at least an hour. Next pour in the Greek yogurt. You want fairly thin stripes so you have enough room to alternate several times.

At this point it’s time to place the popsicle sticks. Cover the top of the mold with foil and poke holes through with the sticks, being sure to get it slightly in the frozen layer. Then place back in the freezer. Continue to alternate until you run out of room.


Once you’re ready to serve the popsicles fill the sink with hot water, then submerge the mold only to the top edging, do not fully submerge it. Hold in the water for about 30 seconds, then pop the popsicles out! 


Tuesday, June 9, 2015

Ground Turkey Sweet Potato Skillet

I have never had an affinity for running so it surprised me when earlier in the spring I really got in to it. I had done it before a few years ago, knocking out my first and only 5k, but lost the drive to do it and moved on to other fitness routines. Something about this spring though with the cool, crisp air, copious greenery, and a sunnier new outlook on life made me want to pick it back up again. I'm running faster than I ever have and enjoying pushing myself to be better each time. In order to fuel that I've been looking for healthy recipes to keep the energy up and the calories burning.

This ground turkey sweet potato skillet was very simple to make and packs in healthy carbs and protein.

You will need:

1lb lean ground turkey
2 tablespoons of EVOO
1 clove garlic, minced
1/2 cup onions, diced
1/2 cup yellow bell pepper, diced
1 1/2 cup sweet potato, cubed
Salt and pepper
Garlic powder
1/2 cup of shredded mozzarella cheese
Sliced green onion for garnish

Make sure all of your ingredients are prepped, then heat the EVOO in a cast iron skillet or other oven-proof pan over medium high heat.


Add the ground turkey and garlic and cook for approximately 10 minutes until the meat is mostly cooked through.


Add in the onions and peppers and cook until the onions start to brown.


Add in the sweet potato, salt and pepper, and garlic powder, give it a good stir, then cover and cook until  the sweet potatoes are tender. You may need to add more EVOO to cook the potatoes and keep the mixture from sticking to the bottom of the pan. I added at least another two tablespoons to keep everything moist.


While the sweet potatoes are cooking preheat the oven to 400. Once the sweet potatoes are cooked through, top with the mozzarella cheese and place in the oven until the cheese has melted. Remove from the oven and garnish with green onion. Before serving give the mixture a good stir to coat everything in the cheese.


The garlic powder was not originally part of the recipe, it was actually chili powder, but I don't care for really spicy things and thought it could still use a little extra something something. Sometimes turkey can turn out to be pretty dry but this stayed moist from the olive oil and it reheated extremely well. This is one that I would definitely make again and can feel good about eating.

Saturday, May 30, 2015

Maryland Crab Soup

One of the best parts of a Maryland summer is crabs and one of my favorite activities is sitting around a table picking them with friends. You can't beat the satisfaction of cracking one open and pulling out every last piece of meat you can get with your hands covered in Old Bay while talking about anything and nothing with some of your favorite people. It's a thing only a true Marylander can understand.

When it isn't possible to pick fresh crabs, there's an abundance of things you can make at home to satisfy the craving. I personally could eat a crab cake every single day of my life and never get sick of it. This time though I wanted to make one of my dad's favorites, Maryland Crab Soup.

I spent a fair amount of time looking for a recipe that came from either a Marylander or a local restaurant to stay as authentic as possible. For example, no offense to my mom's family in New England, but they've butchered crab cakes so I was sticking with my end of the country. However, if you want the best lobster roll, fried clams, or New England Clam Chowder you've ever had they've got you covered.

The recipe I found is entitled Charlie's Maryland-Style Crab Soup and is a mixture of recipes from several Chesapeake Bay cookbooks and the blogger's husband's own personal touches.

You will need:

1.5 - 2 cups celery, sliced
1.5 - 2 cups carrots, cut in small pieces
1 medium onion, diced
3 cups potato, diced in small pieces with skin on
1 28oz can of whole tomatoes, with juices/water
Corn, peas, lima beans, green beans (if you like)
14.5oz can of beef broth
1/2 lb of beef bone (I used 2 neck bones)
1 lb of crab (at least), lump and claw
2+ tbsp of Old Bay
1 tbsp dried parsley
2-3 bay leaves
Sea salt and fresh black pepper
2 tbsp of olive oil or canola oil (preferably something flavorless)

To start, prep all of your vegetables. This can be done the night before or the day of depending on how much time you have.


Next, heat the olive oil in a large soup pot (I used my cast iron Dutch oven) and add the beef bones. Once the bones start to sizzle, add in the celery, carrots, and onion and saute until they start to become translucent and the meat becomes slightly browned around the edges.


Cover the mixture with water, no more than one half inch above the meat and veggies. Add in the bay leaves and most of the parsley and lightly salt. Turn up the heat so that it comes to a boil, then turn it down to a simmer for about 45 minutes, stirring occasionally.


While your stock is simmering parboil your potatoes. Place them in a pot of cold water, bring to a boil, then reduce the heat to medium for about 5 minutes. Remove and drain.

When your stock is done cooking add in the can of tomatoes and the can of beef broth, then dump in a heaping tablespoon of Old Bay. Add in the corn and potatoes and any other veggies you'd like as well as try to break up the tomatoes while they're cooking. Bring the heat up to just under a boil. Let this cook for about 15 minutes.

Add in the crab, then another tablespoon of Old Bay, more parsley, and black pepper. Let the soup cook for another 30 minutes or so, stirring often. Remove the beef bones and taste test before serving to make sure you have enough seasoning.


Maryland Crab Soup is often spicy but no one in this house likes things too hot so I took care to put enough seasoning in so that you could taste it but prevented it from having too much bite. It ended up being a major hit! I had two large tupperware containers of it stored in the fridge and when I came home from hanging out with friends one of them was already gone! I really felt like this recipe had the authentic taste to it I was looking for and both my parents agreed. I think it's going to be made a lot this summer :)



Wednesday, May 20, 2015

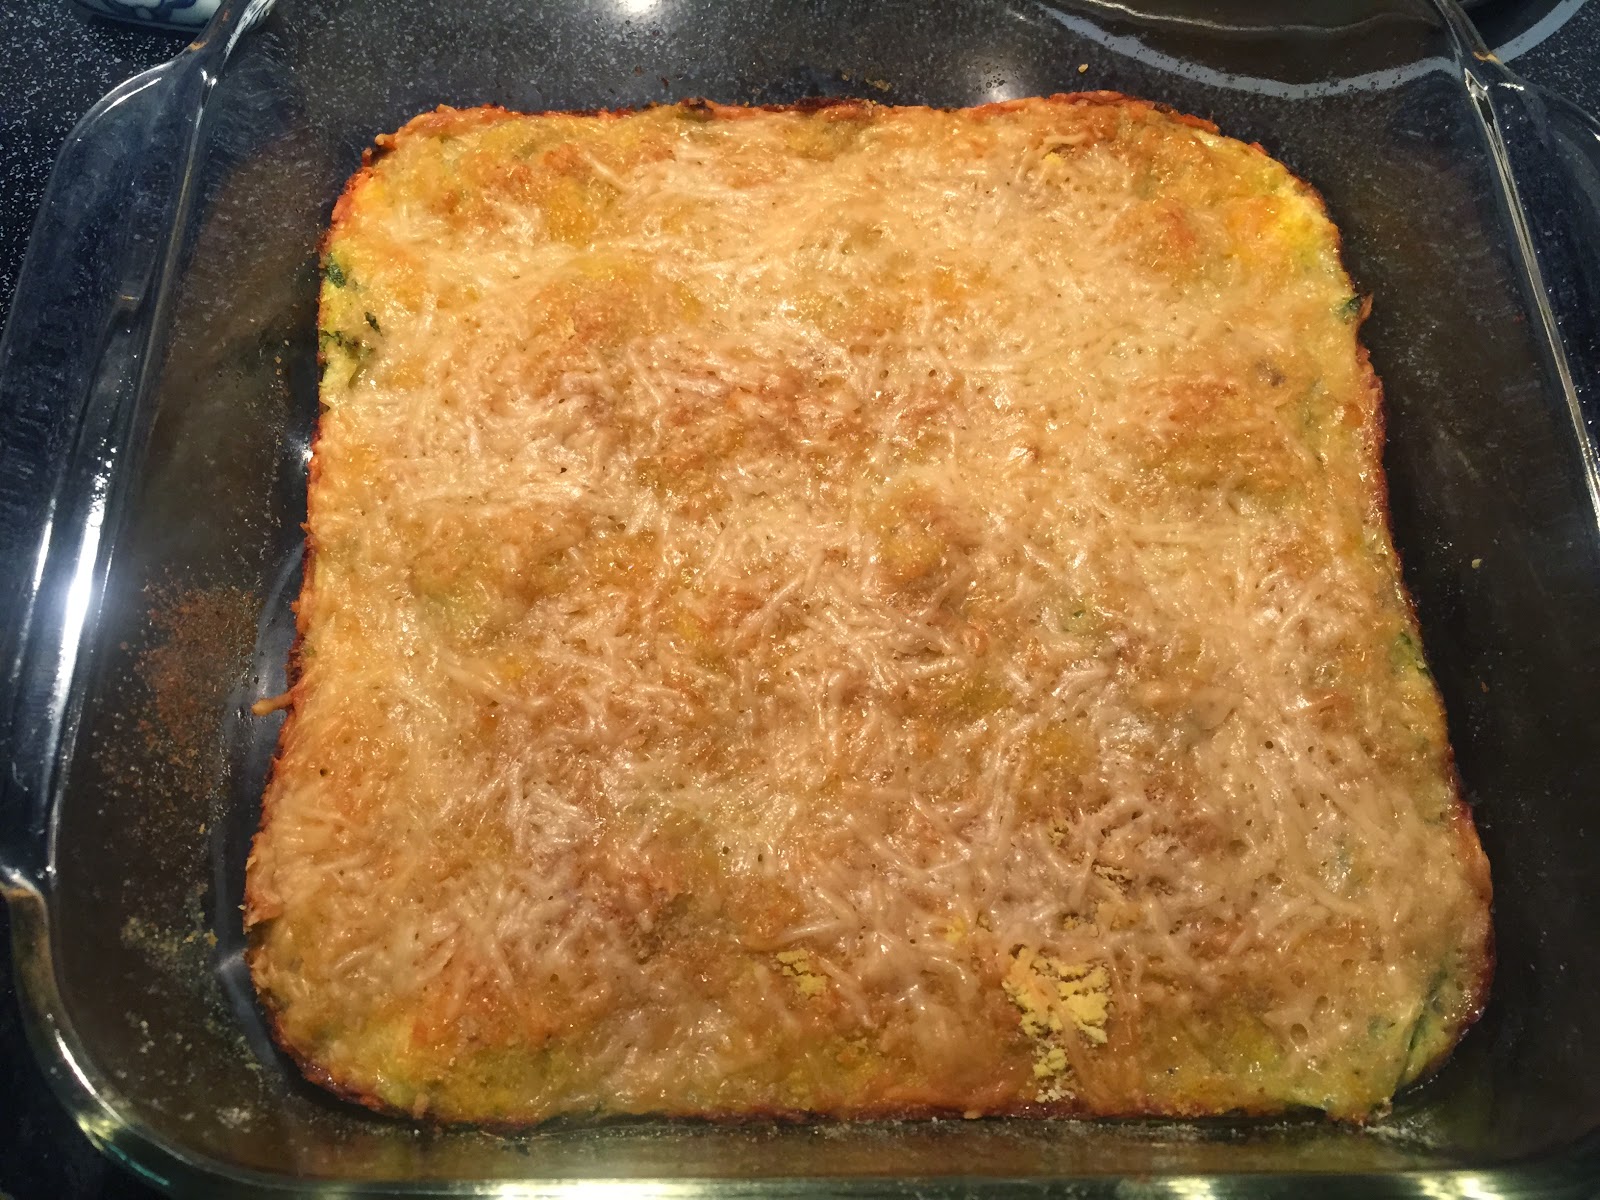
Zucchini Casserole

Zucchini has to be one of my favorite summer vegetables and I'm so excited that the warmer weather is finally here! I've made zucchini many ways in the past, including but not limited to pizza crust, burger seasoning and stir fry, but today I thought I'd try a recipe for a skinny zucchini casserole. It's extremely easy requiring about zero prep work and you probably have a lot of the ingredients already in the house.

You will need:

3 1/2 cups grated zucchini
2 eggs, beaten
1/2 teaspoon salt
1 teaspoon of coarse black pepper
2 tablespoons of cornmeal
3 tablespoons of breadcrumbs
4 tablespoons of shredded parmesan cheese

Preheat the oven to 375. Grate the zucchini with a cheese grater. It's the easiest thing you'll ever do! You only need about 2 average-sized zucchini to get the amount you need. Once grated add them to a medium sized mixing bowl and pat dry with a paper towel. You don't want any excess water in the mixture.


Add in the eggs, salt and pepper. Give it a good stir, then pour it into a greased baking pan. Top with the cornmeal, breadcrumbs, and cheese and bake for 30 minutes covered in foil. Remove the foil and bake for an additional 15 minutes until the top becomes golden brown. Serve hot!


Mine didn't turn out quite as fluffy as the one in the picture from the recipe despite following the ingredients to a T. I'm thinking maybe they used an even smaller casserole pan. Despite being on the thinner side this turned out really well. My only adjustment would be to cut back just a twinge on the black pepper, it was a tad much but not enough to ruin the dish. I think this works best as a breakfast item because of the egg and would make a good brunch dish but I think it also works as a side for dinner. And I love not feeling guilty eating it!


Tuesday, May 12, 2015

Pork Two Ways

I realize it's been a ridiculous amount of time since I last posted but when you're busy with nonstop work and just running around being happy sometimes it's hard to squeeze in those posts, let alone have the time to make anything that's worth posting. Last night I was on call and while waiting and hoping for my phone not to ring I decided I would make dinner for my dad and I since my mom had an appointment around dinner time. I perused my favorite site, Giada's website, and found Herb-roasted Pork Loin with Gremolata and Peas, Bacon, and Prosecco. Umm yum?

My plan was a bit of a failure in that I didn't realize my dad wouldn't be home until almost 2000 and my mom had already eaten dinner out after her appointment but really then more for me right?

I started with the pork loin so I could make the peas while it was roasting in the oven. You will need:

For the pork: 

One 3lb pork tenderloin, trimmed
1/4 cup of fresh rosemary, chopped
4 cloves of garlic, roughly chopped
1 teaspoon of fennel seed
1 1/2 teaspoons of kosher salt
3 tablespoons of EVOO

For the gremolata

1 cup of fresh packed parsley leaves, chopped
1 teaspoon of lemon zest
1 tablespoon of lemon juice
1/2 teaspoon of kosher salt
1/4 teaspoon of freshly ground black pepper
1/2 cup of EVOO

To start, preheat the oven to 400. Lay the pork tenderloin on a rimmed baking dish and cut 10 one inch slices into the tops and sides of the meat. Then rub the rosemary, garlic, fennel seed, salt, and EVOO mixture over it, being sure to get it in the cuts you've made. Place in the oven and roast for 40 minutes or until the internal temperature has reached 145.


While the meat is cooking make your side. You will need:

4 ounces of chopped bacon
2 shallots, minced
One 10.8 ounce bag of frozen peas, thawed
1/3 cup of mint leaves, chopped
1/2 cup of freshly grated pecorino
1/4 teaspoon of kosher salt
1/4 cup of prosecco

Heat a large skillet over medium heat and add the bacon. Cook for about 5 minutes until crispy, then drain all but two tablespoons of fat. Add in the shallots and cook until tender, about 2 minutes. Then add in the peas and heat through. Once the peas are hot raise the heat to medium-high and add in the mint, pecorino, and salt. Stir well, then pour in the prosecco. Remove the pan from the heat, give it another stir, and serve!


Once the roast is done let it sit for about 10 minutes, then carve it into half-inch thick slices and place on your favorite serving platter. Serve it with the gremolata for dipping. All you do is mix the ingredients together and place it in a ramekin or another other serving bowl you have for sauces. I found rather than dipping it was easier to pour a little over the meat.


My mom came home while I was in the middle of cooking and couldn't resist grabbing a few bites of both dishes. She loved them! I like how lean pork tenderloin is and there are so many variations you can do with it. See http://cupcakesandcrabcakes.blogspot.com/2014/11/cocoa-rubbed-pork-with-chocolate-tomato.html. 


The peas were delicious, but really if you add bacon to anything it won't taste bad. The mint gave it a hint a freshness, the cheese some bite, and the prosecco was an interesting addition. It wasn't an overpowering alcohol taste but you tell it was there and helped bring everything together. Plus who doesn't like having a little prosecco left over for a glass? 


Monday, April 20, 2015

Israeli Couscous Mac & Cheese

Today I wanted to put a fancier spin on one of my favorite comfort foods, mac and cheese. Who doesn't love that right?? I've had a jar of Israeli couscous sitting on my counter for a while that I was trying to find something to do with and this sounded like the most delicious option. Israeli couscous is similar in appearance to regular couscous except it's larger and doughier. Everything I had read said that it would make a good pasta substitute.

You will need:

2 teaspoons of butter
1 cup of Israeli couscous
2 cups of chicken broth
1/2 cup of heavy cream
1/4 cup of diced pimentos
1 pinch of cayenne pepper
3 ounces of shredded sharp cheddar cheese (I used white and yellow)
1 tablespoon of chopped chives
Salt and pepper

Start by melting the butter over medium heat, then toast the couscous for about 2-3 minutes.


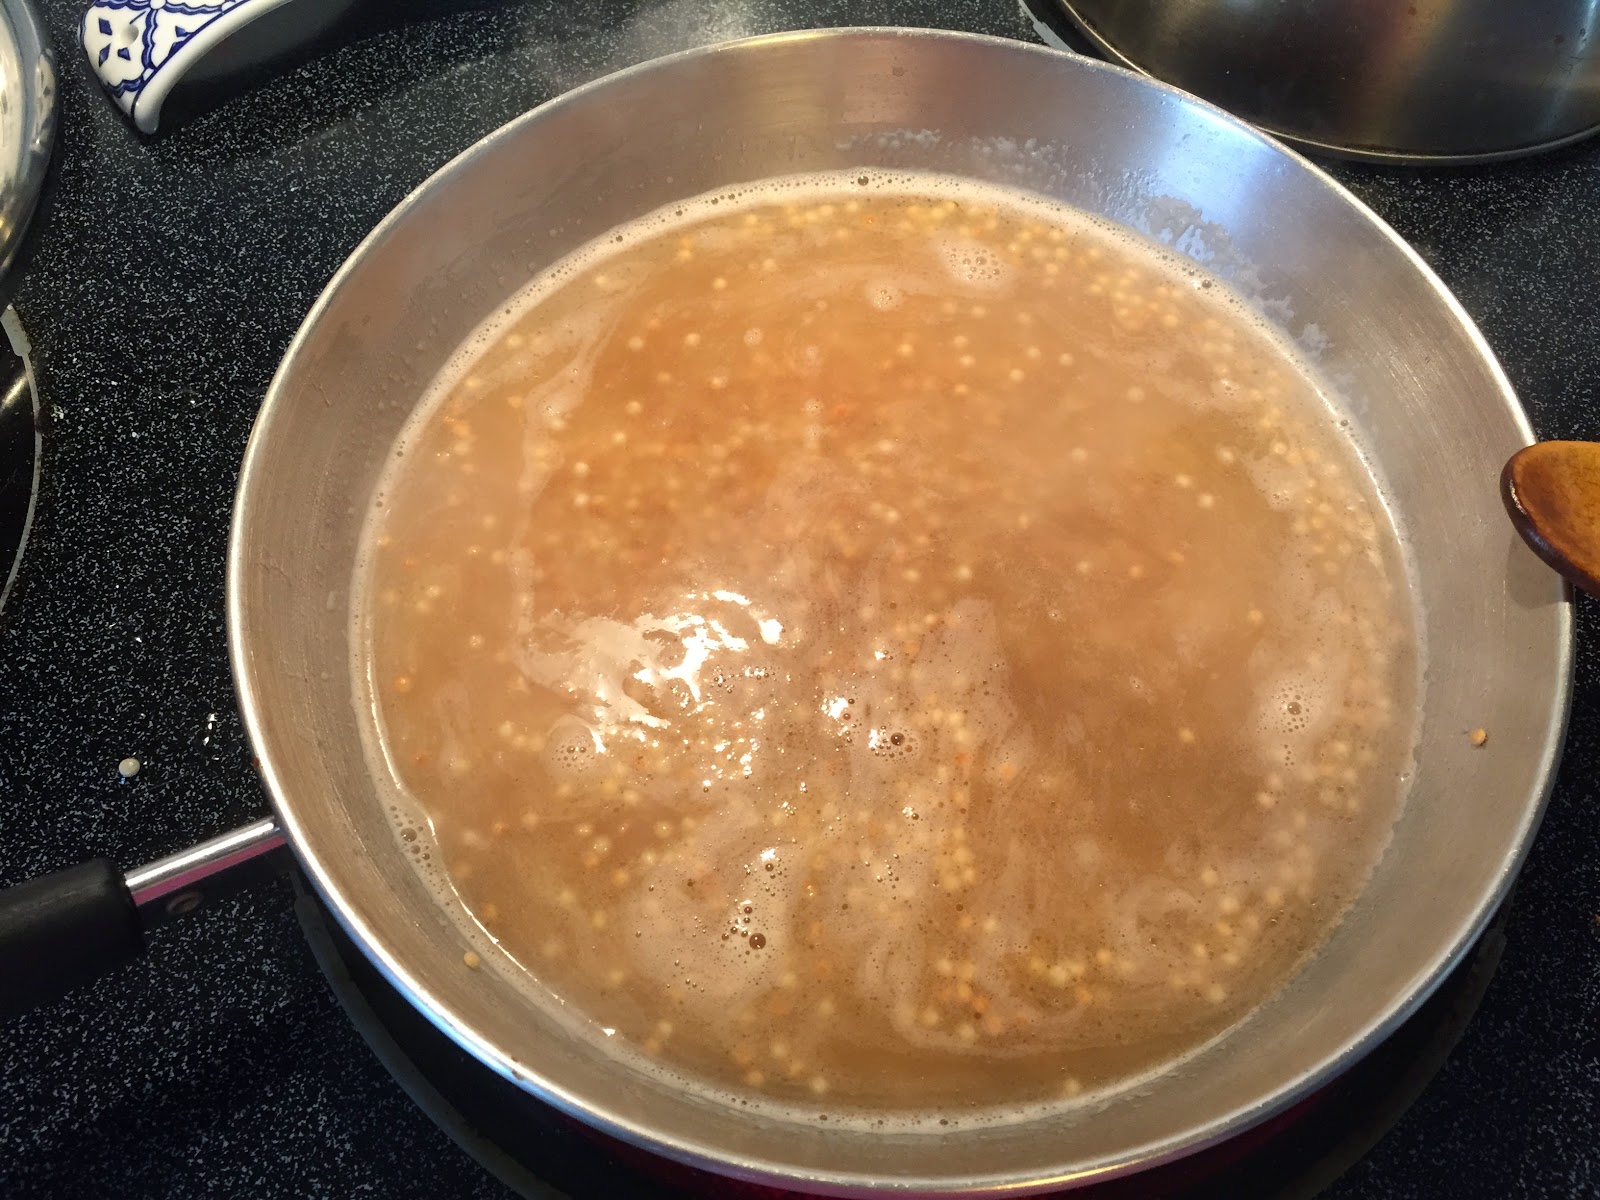
Next add in the chicken broth, bring it to a boil, then simmer it on low for about 6-7 minutes until most of the stock has been absorbed and the couscous has plumped.


Pour in the heavy cream and pimentos, season it with the cayenne pepper, and give it a good stir. Remove the pan from the heat and add in the cheese, chives, and salt and pepper. Continue stirring until everything gets nice and melty.


Transfer the mixture to your favorite serving dish and top with a few whole chives! It turns out just as creamy and good as regular mac and cheese and has a nice little kick to it from the cayenne without being overly spicy. My dad did give it a whirl (this was after he dumped Old Bay on it before tasting it, he got a look for that one) and said it was very good.