Monday, April 20, 2015

Israeli Couscous Mac & Cheese

Today I wanted to put a fancier spin on one of my favorite comfort foods, mac and cheese. Who doesn't love that right?? I've had a jar of Israeli couscous sitting on my counter for a while that I was trying to find something to do with and this sounded like the most delicious option. Israeli couscous is similar in appearance to regular couscous except it's larger and doughier. Everything I had read said that it would make a good pasta substitute.

You will need:

2 teaspoons of butter
1 cup of Israeli couscous
2 cups of chicken broth
1/2 cup of heavy cream
1/4 cup of diced pimentos
1 pinch of cayenne pepper
3 ounces of shredded sharp cheddar cheese (I used white and yellow)
1 tablespoon of chopped chives
Salt and pepper

Start by melting the butter over medium heat, then toast the couscous for about 2-3 minutes.


Next add in the chicken broth, bring it to a boil, then simmer it on low for about 6-7 minutes until most of the stock has been absorbed and the couscous has plumped.


Pour in the heavy cream and pimentos, season it with the cayenne pepper, and give it a good stir. Remove the pan from the heat and add in the cheese, chives, and salt and pepper. Continue stirring until everything gets nice and melty.


Transfer the mixture to your favorite serving dish and top with a few whole chives! It turns out just as creamy and good as regular mac and cheese and has a nice little kick to it from the cayenne without being overly spicy. My dad did give it a whirl (this was after he dumped Old Bay on it before tasting it, he got a look for that one) and said it was very good.


Sunday, April 19, 2015

Salmon with Magic Butter Sauce

On Friday I decided to go for a run for the first time in over a year. I don't know if it was the weather or what but I was feeling inspired and hit the park where I used to work for a nice long trail run. After the first 2.5 miles I was feeling pretty good so I went ahead and continued on for about another 1.5 miles. Note to self, when you haven't run in that long, no matter how good you feel, you should probably stop after the first 2.5 and ease yourself back in. I'm still paying for that one.


Before I couldn't walk anymore 

Naturally after my run I was STARVING. Breakfast was long gone at that point and I had some salmon in the fridge that I needed to cook before it expired. Protein and healthy, the perfect post-workout meal. I did some research and came across a sort of DIY marinade in which you could choose the kind of preserves and herbs you felt like using with a couple of base items. Plus it had "magic" in the title. Anytime you boast something like that I want to see if it's really that magical. 

For this recipe, you will need:

1/2 cup of butter
3 tablespoons of fruit preserves (I used apricot)
1 1/2 tablespoons of balsamic vinegar
Salt and pepper
1 tablespoon of minced herbs (I used basil, chives, and parsley)
2-4 small salmon fillets
Olive oil


Start by heating enough olive oil to coat the bottom of a medium skillet over medium-high heat. Be careful to not burn the oil.

Make sure the skin is removed from your salmon fillets, season them with salt and pepper, then roll them and tie them tightly with kitchen twine.


Sear them on each side for about 2 minutes, then tent the skillet with foil and cook the fillets for about 4-5 minutes or until cooked through. Remove from the pan.


Add the butter, balsamic vinegar, preserves, salt and pepper, and herbs to the pan. Stir to combine and simmer until bubbly. Pour immediately over the salmon. 


I could not believe how good this sauce turned out. Sometimes adding "magical" to a recipe is very overreaching but this one deserved it. The combination of the preserves with the fresh herbs was unexpected and delicious. My parents tried some too and both were raving about it. It's a quick easy recipe that's definitely going to enter the rotation. 

Monday, April 13, 2015

Key Lime Pie

A very good friend asked me recently to make a dessert for her wedding reception in May. I don't make desserts too often because I can't be trusted to not eat the whole thing and I have a spotty track record with how well they turn out. However I do enjoy a good challenge when it comes to cooking. After thinking about my favorite desserts for a few days I decided on key lime pie. It's not too complicated and it's perfect for a May wedding and warmer temps.

I got the recipe off of one of my favorite food blogs, Gimme Some Oven. It was pretty straightforward and didn't require too many ingredients.

For the graham cracker crust you will need:

1 1/4 cups finely-ground graham cracker crumbs
2 tablespoons of sugar
5 tablespoons of melted butter

For the filling:

1 14oz can of sweetened condensed milk
4 large egg yolks
1/2 cup of key lime juice, fresh squeezed or bottled
1 tablespoon of lime zest


For the whipped cream:

1 cup of heavy whipping cream
1 tablespoon of powdered sugar

One of the best investments I've ever made was my food processor. I took about a pack and a half of the graham crackers, broke them up and tossed them in, then turned on the processor until they were finely ground. If you don't have a food processor you could just throw them in a large plastic Ziploc and smash them with something like a crab mallet.


Preheat the oven to 350. Mix the graham cracker crumbs with the butter and sugar, then pat the mixture into a pie dish making sure you get a fair amount up the sides of the dish. Bake for 10 minutes then let cool.


While the graham cracker crust is baking make the filling. Whisk the egg yolks and can of condensed milk, then add in the other ingredients. I squeezed my limes by hand, mostly because I have this handy dandy tool that I got for under $5 at Homegoods that makes it really easy. I came up slightly short on juice with 4 limes but not enough to make a huge difference. I would recommend getting at least 5 limes if you're going to juice your own.


Pour the filling into the crust and bake for 15 minutes. Remove from the oven and let cool to room temperature, then refrigerate for at least 3 hours. I let mine sit overnight.


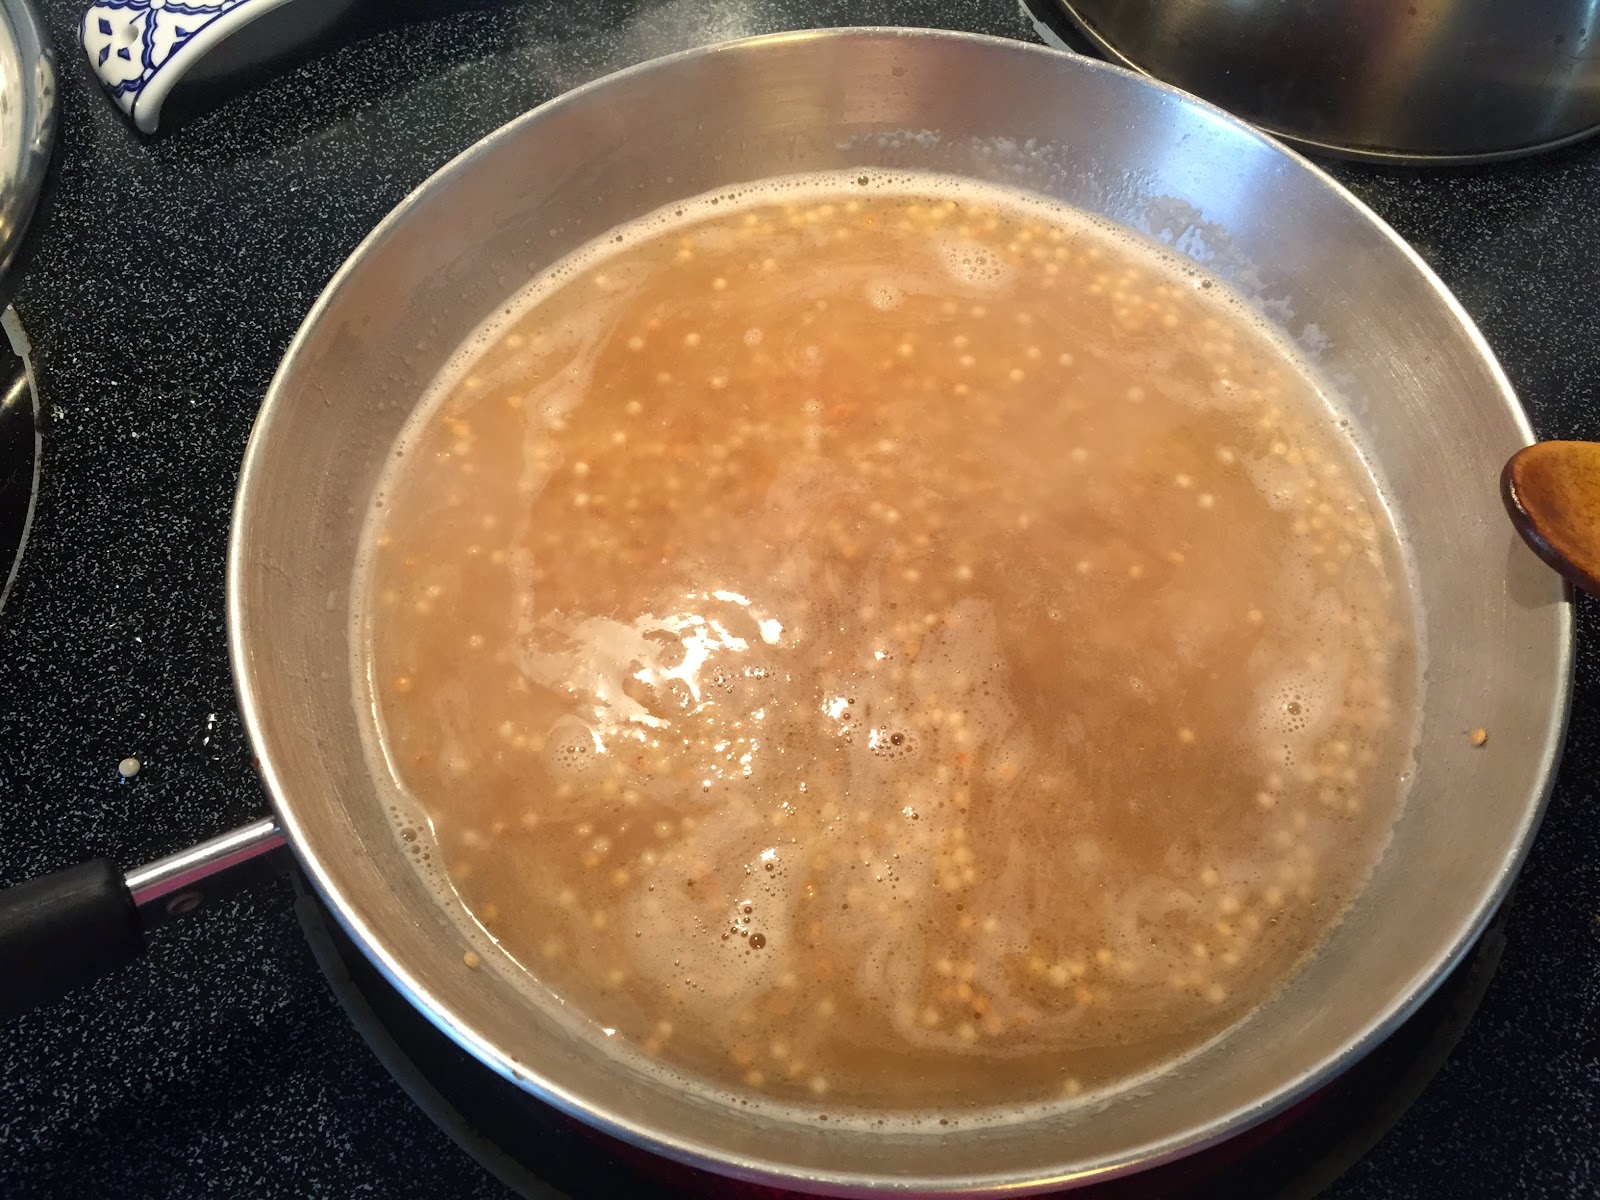
The whipped cream, oddly enough, is where I struggled. All you do is mix the two ingredients together and I thought I could get away with hand mixing it but that does not work at all. Even whisking it as fast as possible it did not solidify. Fortunately I had enough for a second batch so I dug out my mom's old electric hand mixer, set it on whip, and that did the trick! Go figure. The top picture is the failed batch, the second the success!


To decorate the pie I bought a disposable pastry bag with a tip that you can cut to your desired width to make stars, piping, etc. I need to experiment a little with making it more precise but it turned out pretty well! I then zested a little more lime over the top for a garnish.


Cutting into it the crust held up pretty well. Parts of it were a little crumbly but overall it stayed together. I also liked that the filling isn't overly sweet and you can taste the lime without it being too sour. I'm very happy with the way it turned out and am looking forward to serving it in a month or so!

Monday, April 6, 2015

Scalloped Potatoes

This year was the first time I have ever made a dish to bring to a family dinner. In previous years I wasn't all that into cooking but now that I enjoy it so much I thought it fitting that I make something to share. My parents and I traveled to my aunt and uncle's house to have Easter dinner with my cousin, his wife and their two children, and my 94! year old grandfather. My mom made her deviled eggs, which as you know from previous posts are my favorite, and I opted to make the scalloped potatoes at the request of my aunt.

I looked up a few recipes before settling on one that I thought was pretty easy and not too time consuming.

You start by thin slicing 4 russet potatoes, skin on and cleaned, although you can peel them if you'd like. You also need to dice about one and a half cups of white onion and chop up about a third of a cup of chives.

After you've prepped your veggies and herbs, preheat the oven to 375. Spray a baking dish with cooking spray, then layer the potatoes, sprinkling with chives as you go, until you reach the top of the dish. You can overlap the potatoes but make sure there are enough gaps so when you pour on your sauce it coats everything through to the bottom of the dish.


Once you're finished layering your potatoes set the dish aside. Melt a 1/4 cup of butter in a large saucepan over medium heat, then add in the onions. Saute until tender, then whisk in 2 tablespoons of flour to coat the onions. Next, pour in 2 cups of whole milk and stir in 2 cloves of minced garlic. Mix well to combine.


Let the mixture sit until it bubbles and starts to thicken, then remove from the heat. Whisk in 2 cups of a combo of cheddar, monterey jack, and mozzarella cheese. Once all the cheese has melted pour it over your potatoes. Give the dish a good shake to make sure all of the sauce settles to the bottom of the dish, then top with about 1/4 cup of the remaining cheese and another sprinkle of chives.


At this point you bake it for about an hour. Make sure you watch it!! I checked on mine several times but my mother neglected to tell me that their oven cooks hotter so I burned the top of mine a little :( Fortunately it was still edible, just not very pretty! Here they are below after having been cut into:


I liked this recipe but I think next time I may try a different one. The potatoes didn't get as coated with the cheese mixture as I would have liked them to but even with the burned top everyone still enjoyed them! 

Wednesday, April 1, 2015

Experimenting with Food Styling

Goodmorning! I don't know about you but I am so glad April is here because hopefully with it will come warmer temps and the ability to spend more time outdoors. In order to kickstart a new month I tried out a barre class this morning, which was amazing, so I wanted to keep those happy endorphins flowing by cooking something healthy but fun! Well my definition of fun anyway ;)

A few days ago I stopped in with some friends to the Market Tavern on Main Street in Sykesville. You can sit at the bar and order food and drink or you can peruse the shelves that are filled with local and national small business items. I quickly found a ton of my favorites (Mouth Party Caramel, Kinderhook cookies and crackers) but was also intrigued by the dairy case and its offerings of fresh sausages and cheeses.

I have a tiny (okay more than tiny) obsession with goat cheese and when my eyes alighted on Cherry Glen Goat Cheese Co.'s Chevre (just a fancy word for goat cheese) I knew exactly what recipe I wanted to use it in.


A while ago I pinned a recipe for a goat cheese quiche with a sweet potato crust. I had been waiting to make it because it's a little lengthy and required a few cooking tools i.e. a springform pan that I didn't have but I found a cheap one yesterday so it was time!

Today I'm trying a different approach to my blog so instead of typing out the whole recipe, you can find it here: http://www.farmgirlgourmet.com/2013/03/goat-cheese-quiche-with-sweet-potato.html

I wanted to focus more on presentation and photography today. Unfortunately I'm without my reflector and will have to get a new one. I also need to get a few pieces of white posterboard for backdrop, but I've been playing with angles and a photo editor app on my phone called Bokeh. Below is some of my experimentation!

Here's the original:


Now edited with Bokeh:


Without editing:


With editing:


I like how much sharper the images are and how the focus becomes the food and not all the clutter in the background. I can't wait to try this app out once I have a solid white background. I have a lot more to learn but I'm excited.

I'm also happy to report that this quiche tastes as good as it looks. It's sweet from the sweet potatoes, savory from the eggs and seasonings, tangy from the goat cheese, and creamy in the center. You can see the split layers here: